Showing posts with label free pattern. Show all posts

Monday, March 30, 2015

Riley Blake - Knit Love Tour + pattern GIVEAWAY


I am so excited to be Part of the Riley Blake Designs Knit Love Tour!
I was asked to choose some fabric and make something to try out there latest knits. There were so MANY great choices, I had a real hard time picking :) I had so many ideas that I ended up making 4 different items


I LOVE working with knits - and most of my patterns are made for them. There are fast and easy to sew (they really are!), super comfy for kids, and all around quite forgiving to work with and in fit. The Riley Blake cotton lycra knits are wonderful for kids clothes. They are a great mid-weight knit with good recovery, very little shrinkage, no fading, and great design choices . Perfect for leggings, tees, dresses - just about everything.

I wanted to make some summer things for my girls, and while they have very different styles, I used the same fabric for both. I choice a navy blue Aztec print with an aqua solid.
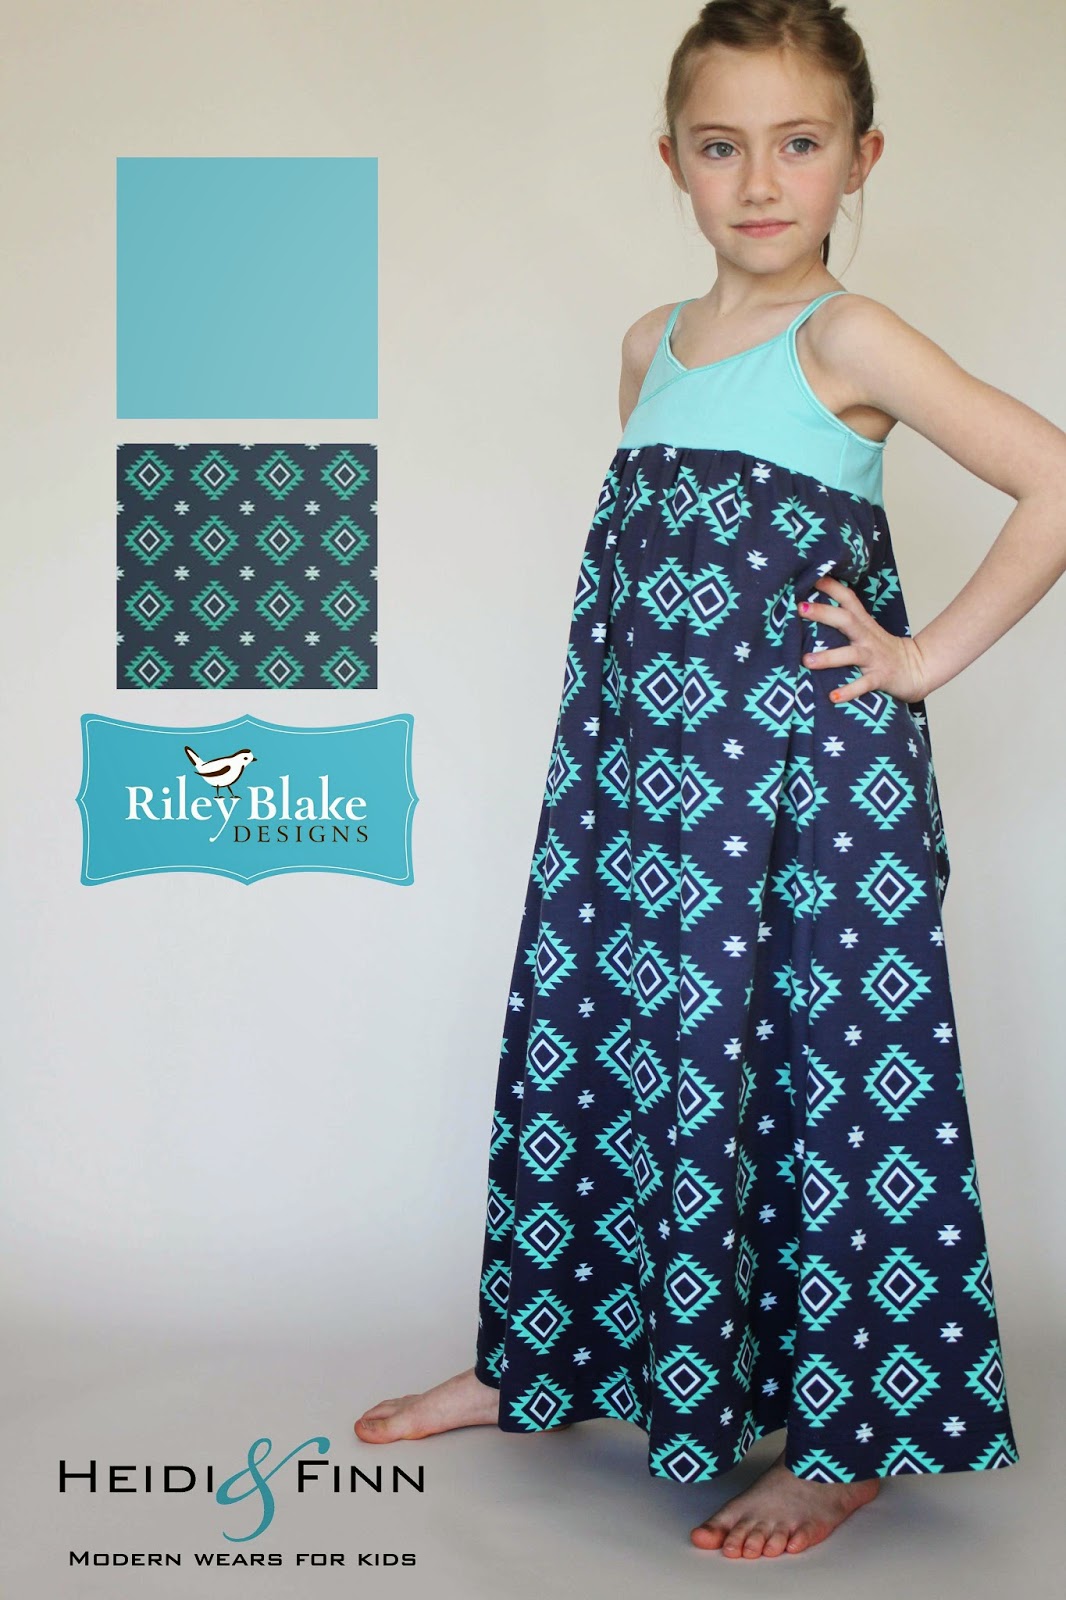

My oldest Loves everything girly, so a romantic maxi dress it was. I used my Summer Maxi Dress pattern for the dress and modified it for knit fabrics. I omitted the back opening and used FOE rather then bias binding for the straps...easy peasy.
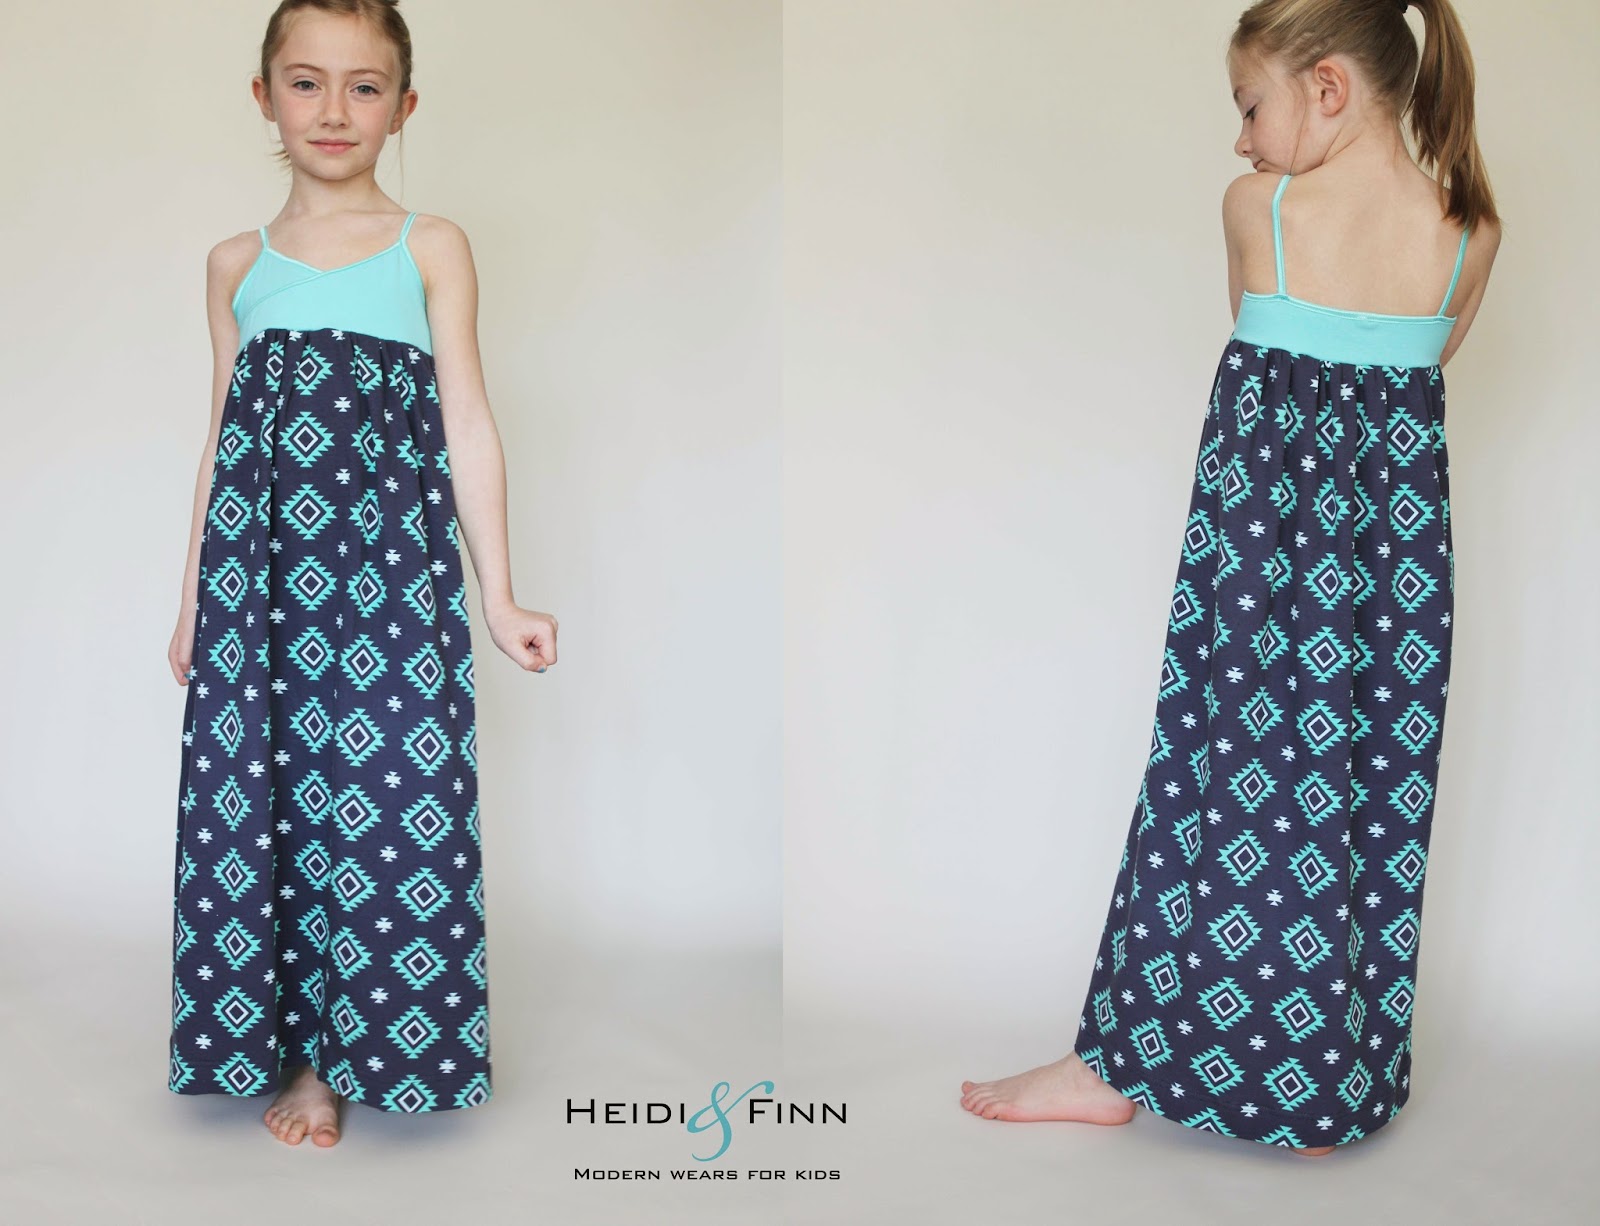

The fabric drapes beautifully and is strong enough in the bodice to hold up the long gathered skirt


My youngest is all about comfort and climbing everything, so a cute little capri jumper was in order. I used my newest Sugar n' Spice romper/dress pattern for her.


The knit worked great for this design. Stretchy enough for the cuffs and great recovery in the bodice and gathered bottom.

I wanted to try the knits out on something a little more structured, and chose this Cottage Garden - triangle print.


I used it for the lining of a knit blazer (pattern coming soon!) and for an accent on a 3/4 shirt tee.


The grey is a solid french terry that I had that matched perfectly!


The tee was made using my All You Need Jammies pattern, and I added the pocket detail.


Want to make some of these designs for your own?

Check out the selection of Riley Blake knits HERE and comment below with your favorite design for your chance to WIN ALL 3 of the patterns I used 
*winner will be drawn via random generator on April 3rd


 Make sure to catch up with the many other talented blogs on the tour 

March 3: Figgy’s
March 5: EYMM
March 6: Melly Sews
March 7: The Sewing Loft
March 9: Love Notions
March 11: Tea Rose Home
March 12: Sew Much Ado
March 14: Tie Dye Diva
March 16: The Cottage Mama
March 21: Ellie Inspired
March 28: Foo Foo Threads
March 30: Heidi & Finn
March 31: Lily Giggle


Monday, January 19, 2015

Sewing to Sell - Book Review and Giveaway (giveaway closed)


Have you ever dreamed of making money from your crafty/sewing hobby? If you have then you will want to pick up the new book Sewing to Sell from gingercake's Virginia Lindsay


This book is a great resource for those just thinking about starting a crafty (not just sewing) business to those who already have one and are looking for some new ideas and inspiration.  Virginia goes through all aspects of  starting and running your business, from coming up with your brand and vision (VERY important),  planning, materials, all the way to pricing and packaging.

The book is full of beautiful photographs and a TON of helpful hints (Lots of things I WISH I had been told when I started! :) )

Once you have got your inspiration flowing, and a plan in place, She even includes 16  unique projects to start with, and encourages you to make them your own.


It was hard to choose just one to sew up (they are all pretty great) but I settled on the Kid's Messenger Bag.


I love that all the projects are great 'blank slate' patterns, that really allow you to use your style to make them your own.  I also love that most of them are unisex and work for a diverse customer base (important when sewing for craft/trunk shows)

I made two (although I have a TON of ideas for more) with woodland animal appliques.


The only change I made was to omit the trim and add the applique rabbit and deer in felt. I have included the applique pattern for you to use to make your own! You can download the applique pattern here

https://drive.google.com/file/d/0B_8Gt0xYcWcccTlqNzV0NzMtbm8/view?usp=sharing


 Virginia takes the guess work out of some of the most challenging aspects of starting your business. Each project comes with suggested pricing, ideas for packaging and even how to photograph each item! (super helpful)  
Here is an example of my photo set up , She mostly shows you setups using natural light (which I agree is the best), but I had to use my lights since it was a rainy day out. 

I also LOVE that she includes projects to make the most out of your fabric. This is especially great for those that are starting out and do not want to make a huge investment in the beginning. This bag used every bit of the needed fabric, with only a small scrap left over!

I recommend this to everyone who needs a push to get their business started, it is great for inspiration. And to seasoned business owners, it is a super way to rethink your business and to reevaluate your process.


Want to win a copy of Sew to Sell?  Of course you do.  Just leave a comment below by the end of Wednesday, January 21st!  (**Open to American and Canadian residents only)  And follow along on the tour for more chances to win  ***GIVEAWAY CLOSED***


 **thank you to Virginia Lindsay who graciously provided me with an e-copy of the book for review, all opions are my own :)

~Christine

Thursday, October 23, 2014

Slouchy Beanie hat - FREE pattern for kids clothes week


Project 2 for kids clothes week - HATS! more specifically oh so cool slouchy beanies! Somehow my kids seem to lose about 10 hats each fall/winter season, and we are scrambling in late February to find something that fits...so this year I wanted to be prepared.


This is a great project for all those small pieces of fabric you have left from other projects that you don't know what to do with. Also perfect for up cycling old knit clothing.


 It requires around 1/4 yard of fabric AND (the best part) take about 15 min to sew! no joke, faster on a serger too!


What you need:
  • 1/4 yard or so of pretty much any knit fabric that has some stretch to it (jersey, french terry, sweater knit, fleece, sweat-shirting, stretch wool etc.)
  • download the pattern here, and cut out the size you are making **Note the sizes are only approximate, you may need to make a different size according to what material you are using and your child's head, for reference my oldest is wearing the 3-6y size (she is sz7 store bought) and my youngest is wearing the 12m-2t (she is sz3 store bought)
https://drive.google.com/file/d/0B_8Gt0xYcWccdUhmS0Z6LUV4bDg/view?usp=sharing

How to:
Cut your 2 hat pieces (main hat and brim)


fold the main hat in half and sew the sides (tapering your stitches along the folded edge). Seam allowances are 1/2", but for a more slouchy look, or if you are thinking your material does not have that much stretch use a 3/8" seam allowance.


rearrange your hat, so the seams are now laying on top of eachother and matching up at the top. Sew from one end to the other of the opening on the top, once again tapering your stitches at the folded edges


Take your brim piece and fold in half with right sides out. Press well


unfold and refold so the brim is in half with right sides together and the short edges lined up. Sew along the short edge to form a tube. fold the tube back in half  along your pressed edge so right sides are out again.


Line up the brim with the hat so the folded edge of brim is facing the raw edges of the hat, and side seams are matching.  Slip the brim over the hat and line up all the raw edges( of hat and brim). Pin together


Sew the brim to the hat with a STRETCH stitch (using your serger or zigzag/stretch stitch on your sewing machine)


Done! (wasn't that fast)
 

Now....


 Seriously...what are you waiting for....


~Christine


Tuesday, October 7, 2014

How to make Elastic Belts x3 - a tutorial PART 2


This is the perfect belt for the upcoming Holiday season...it may be the only thing you need to dress up some of your child's existing clothing

what you need

  • small amount of heavy material that does not fray (leather, suede, mico-suede etc.)
  • 1/4 yard of fabric to wrap elastic
  • 1"-1.5" width elastic (cut 1" smaller then your child's chest size)
  • sew on snap (I like 1/2" or larger)
  • fabric flowers (I made some fabric flowers using the 'burned flower' technique, there are a ton of tutorials and YouTube videos on how to make these, so I will not explain it here)


take your elastic and material for covering. Cut your fabric twice as long as your elastic and twice the width (plus 1/2" seam allowance)

 fold the fabric in half and sew into a tube. turn the tube so it is right side out


Using a bodkin or safety pin pull the elastic through the tube, with the seam on the tube centered along one side of the elastic


When you have pulled the elastic through so the end is lined up with the end of the tube, sew it in place

continue to pull the elastic through until the end you are pulling  meets the end of the tube. Sew down this side as before

give the elastic a big stretch to help even out the gathering  of the the fabric


Using the template or you can free-hand it, cut out 4 circles from the heavy leather/suede fabric (2 larger and 2 smaller)

sandwich the ends of the elastic in between the circles. One end with the larger two and the other with the smaller two. Pin in place. Sew the circles together. I like to do a spiral stitch to cover the entire circle, this makes sure the elastic is secure and gives the fabric circles a little more strength.


Sew on the snaps, making sure that that they are on the wrong side of the big circle and the right side of the smaller circle (so when they are closed the right side of the elastic is out)


take your flowers and attach them to the right side of the larger circle


All Done! now go dress up some outfits

**these are all variations of our latest pattern - The cowl neck dress and sweater, available in our shop

be sure to post pics of your belts on our facebook page- We love seeing what you create with out tutorials :)

~Christine


Related Posts Plugin for WordPress, Blogger...