
So now you know how to make these fun fabric trick or treat buckets...let me show you how I 'dressed mine up'


What you need:
Felt sheets (and scraps) to make appliques, I just used black for all mine
Black embroidery thread
Black wool (thicker then embroidery thread)
Silver metallic wool
fabric markers/sharpies
beads
Here is what you do:
For the medium and small one I used black felt to make some simple silhouette shapes. I printed out some shapes and words on my computer, scaled them to the size I wanted to use as a pattern. You can use the ones I did and download them here.
Or you can search google images for "Halloween silhouette" and a ton will come up
Once you print up the shapes you like, pin them to your felt

Using a combination of scissors and xacto knife, cut out your shapes in the felt (don't worry, they do not have to be perfect since you will be zigzagging all the edges when you sew them on)


Pin them onto your bucket side

Next you will be using your sewing machine and a med. zigzag stitch to applique them on. I like to use a matching thread and med stitch length, this way it goes faster and uses less thread. You can do a really short stitch length and the applique will look much thicker and more professional around the shape (but it takes a lot longer!) I Like to use this open zigzag foot on my machine for this, it makes it really easy to see

Carefully sew around the entire felt shape and all the edges

If you have a function on your machine to have your needle foot lift up (but your needle stays in your work) every time your foot goes off the pedal, I suggest you use this now. It makes turning your work soooooo much easier, and if you are doing any round-ish appliques you will be turning your work a lot!

Once you are done sewing all the felt shapes down, you can add/embellish as much as you like

I added some color to the pumpkin using fabric markers and sharpies!!


Here is what I did for the Large bucket

I printed up the "trick or treat" text and pinned it to the main side. I used embroidery thread and a simple straight stitch all around the letters. (**warning this takes a LONG time...) then I simply ripped off the paper and was left with an embroidered outline of the letters


I colored them in using fabric markers

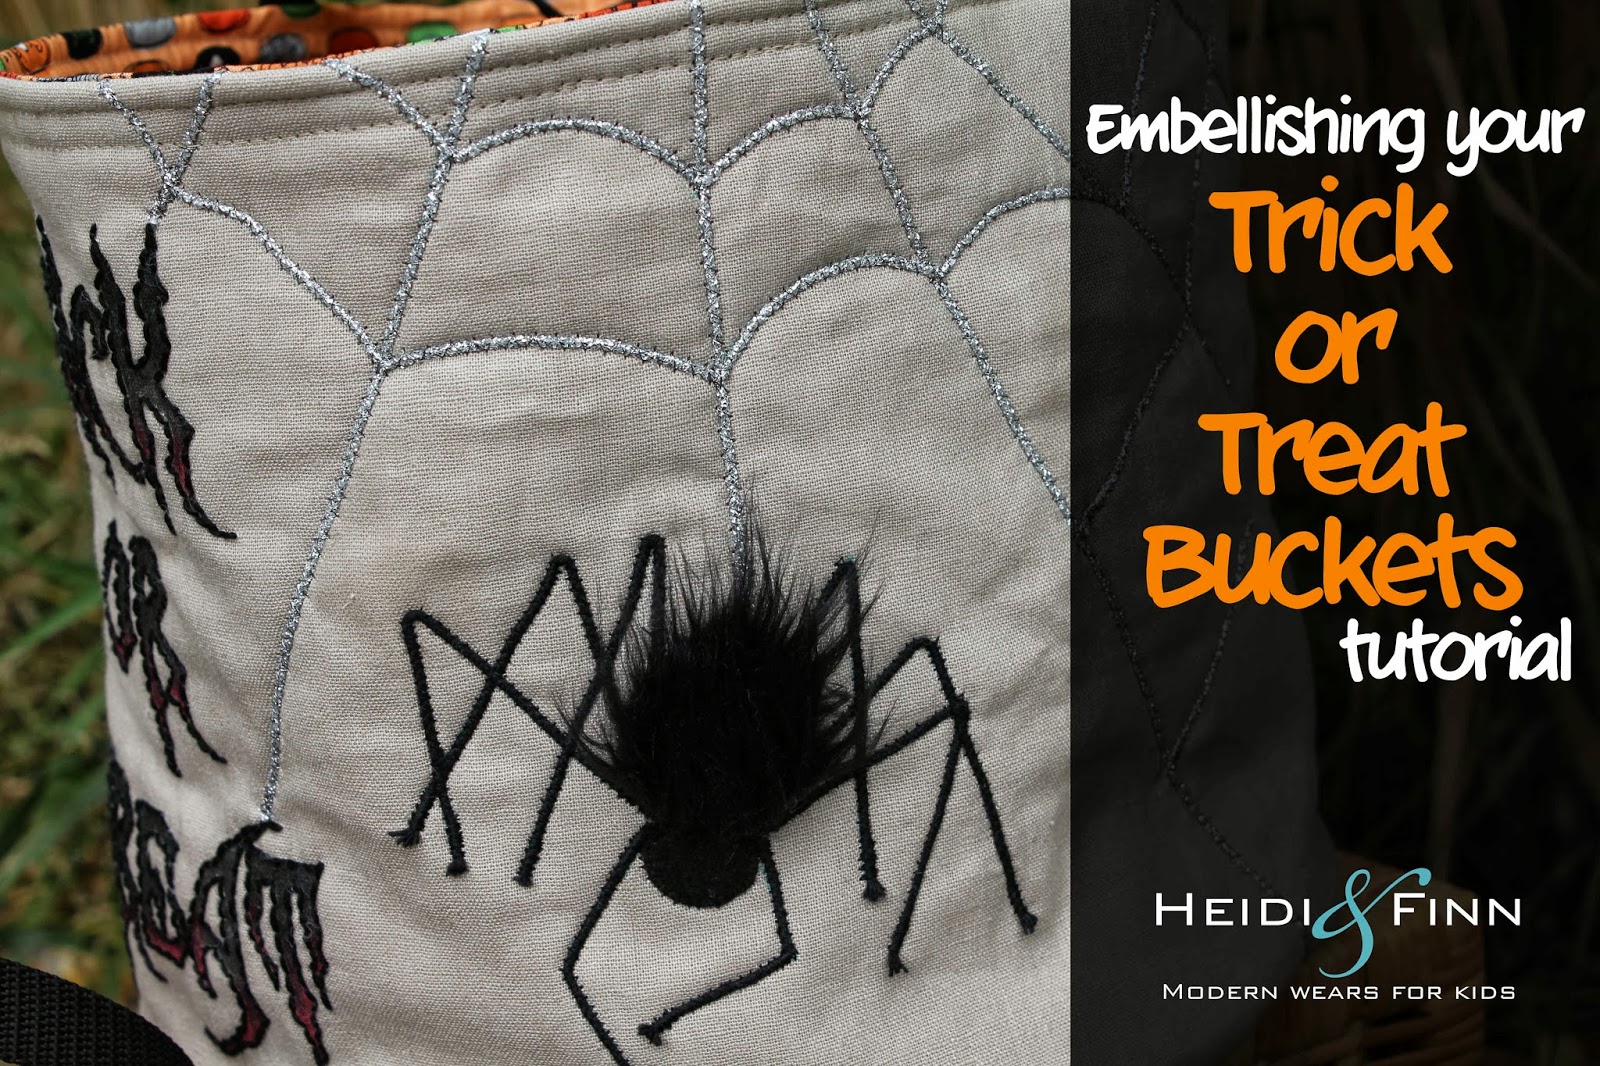
I traced out the spider using a fade away fabric marker and took a scrap of fur and cut it out in roughly the same size circle as the spiders body


For the legs, I used black wool and zizagged stitched over it, following the lines I drew out for the legs.


I stared at the top of the leg, near the body so that I could end the leg leaving a little bit of yarn not sewn down to make a little foot.

Finish all the legs and you're done

I did the spider web the same way, only I used a metallic yarn instead if the black


For the small bucket I did the same thing as the med, I made a simple felt cutout from a google image and zigzagged all around.


I added a small round circle of fur to the spiders body as before, and two spooky red beads for eyes

Now let's see what Spooky treat buckets you can come up with, post them to our flickr group

So very cool. My kids would love a bucket like that. Thanks for the tutorial.
ReplyDeleteWonderful tutorial! Thanks!
ReplyDelete