Showing posts with label birthday crafts. Show all posts

Tuesday, March 4, 2014

Lego Party - birthday ideas, decorations, and free printables


It's birthday time around here (3 birthdays this month) and I realized that I never shared my oldest's 5th birthday from last year. It was her first real birthday party (with friends, not just family). Since she want to have both boys and girls, finding a theme that would work for both was challenging, but we decided on a LEGO theme.


 I didn't take too many great pics (I regret now), but getting ready for 14 5yr old was crazy enough!

I started off making a t-shirt for her to wear, a simple lego man with a 5. I just printed it on iron-on transfer paper, and put it on a store bought plain tee - easy peasy. You can download the image here.


https://drive.google.com/file/d/0B_8Gt0xYcWccdTN1ZnpTSTBERXc/edit?usp=sharing
Finding lego decorations was really, really hard, so we ended up making most of them ourselves. Including a lego wreath for the front door (our old christmas wreath with a lego '5' that the little one built).

We made some paper legos from construction paper and garage sale stickers (dots) from the dollar store, I sewed them onto bias tape to make some bunting. This was really fast to do and we hung them from all the doorways. We also made a ton of tissue paper pom poms in primary colors and hung them all around.


While the kids arrived we set up a coloring station with some lego coloring and activity books to work on. You can download the pdf here, it is a collection of coloring pages and games. (just make sure to print it double sided, you can sew down the middle or just staple it together to make the book) I printed a separate cover on yellow card stock with the first page in the pdf.


https://drive.google.com/file/d/0B_8Gt0xYcWccVDVYSXo0aHlkb0U/edit?usp=sharing
The table was easy - just using a mixture of primary colors created the lego feel, I added a couple of logos to the cutlery and straws.


The food table was the most fun. We filled it with lego cupcakes and cookies, crackers, cheese, fruit kebobs, and veggies. Keeping it very colorful.


The whole room turned out really fun!


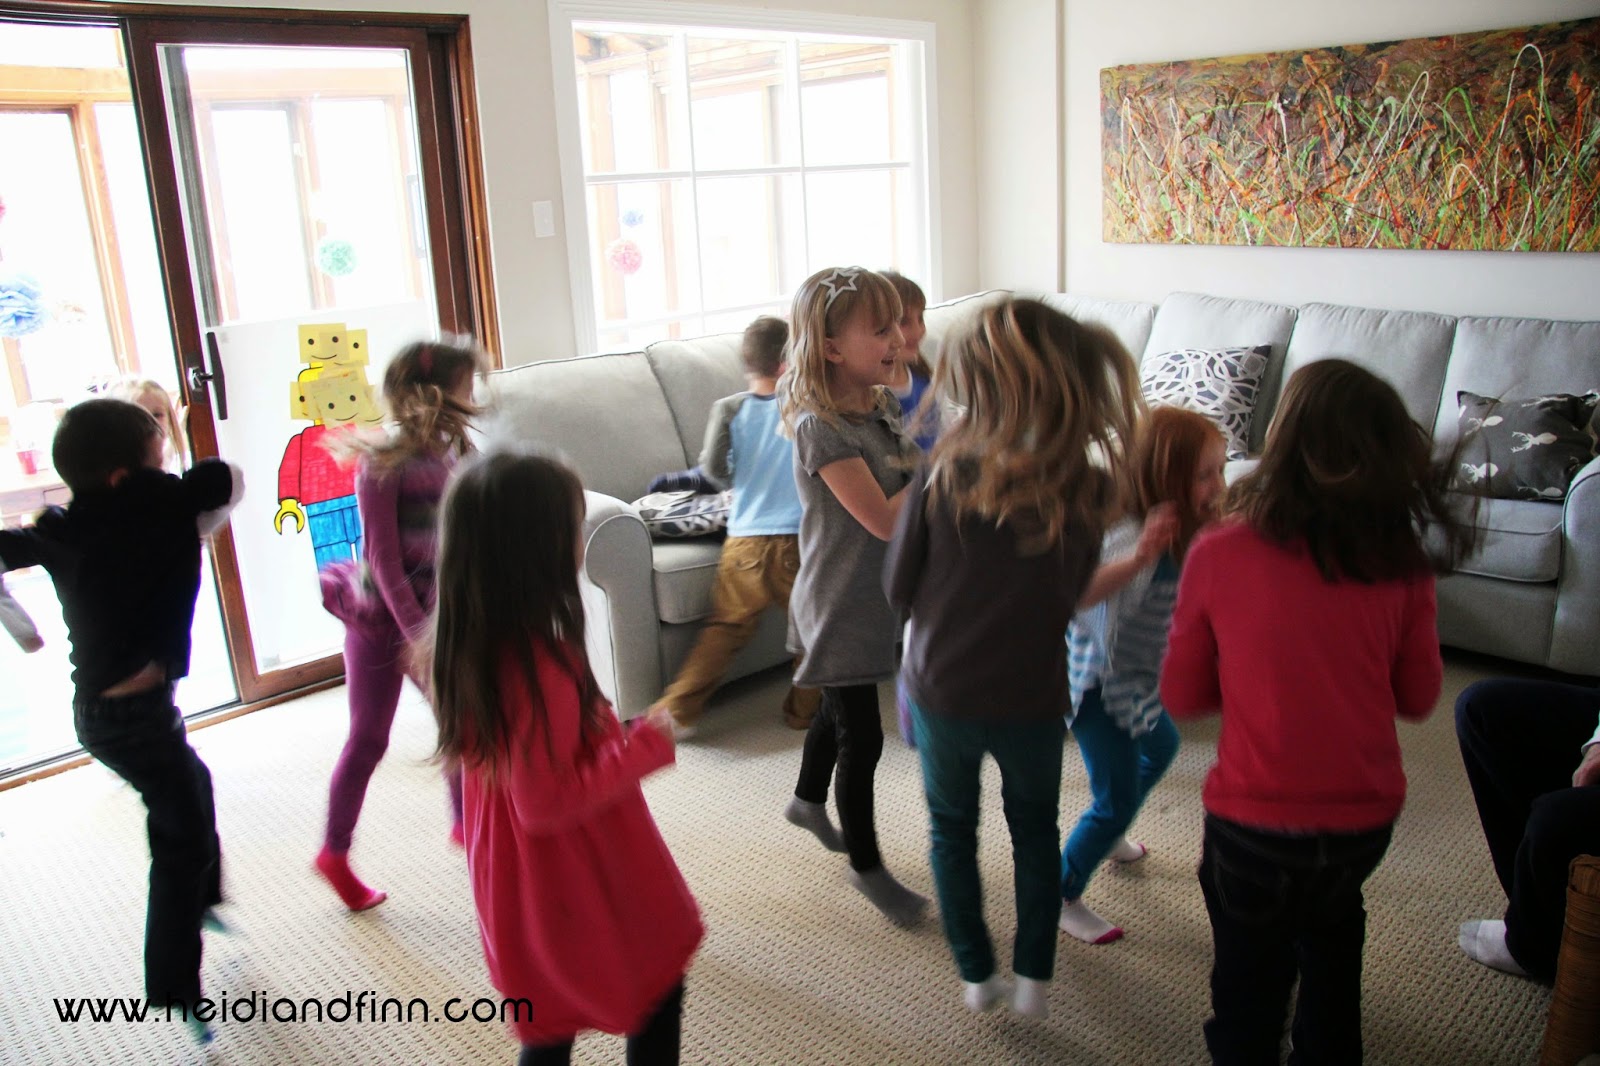
We spent the afternoon dancing, coloring and building lego of course!


For anyone who wanted a break, we kept the coloring station out with some simple coloring sheets to design your own minifigure and color your own logo block. You can download the coloring pages here.

https://drive.google.com/file/d/0B_8Gt0xYcWccUTVaREN0c0YxOUU/edit?usp=sharing
The gift bags were primary colored bags with construction paper dots on them. we filled them with candy blocks, lego books, small packs of lego, crayons, stickers and lots of fun little things


This year, she picked a mermaid theme, so watch out for some mermaid party tutorials coming soon....

~ Christine

Tuesday, September 3, 2013

Birthday Crown Tutorial - and free pattern


Even though my littlest is almost a year and half , I am finally getting around to posting this. For her first birthday I wanted to make something other then the usual party hat for her to wear. And since trying to get her to keep something on her head or in her hair is nearly impossible, it had to be super soft and lightweight. 


 Enter - the felt crown! I used a really soft organic felt and decorated it with felt flowers and embroidery. Soft and light = she doesn't realize it is there....for a couple minutes anyway :)


It is held together in the back with FOE, so it stays snug, but not too tight. Want to make one?

Here is what you do:

You will need a few things (or a lot of things...depending on how crazy you want to embellish....trust me, these are slightly addicting to make, or maybe it is just me!)

Download the free crown template here, or you can draw your own.

First,  a large piece of felt for the main crown ( a 12" x 10" sheets is perfect) and some scraps to decorate with.
Then, some FOE (fold over elastic) or any elastic to sew in the back. Various things to decorate the crown with (embroidery thread, buttons, felt shapes, felt numbers or letters....)


 Using the crown template (you can download here) , cut 2 crown shapes out of the large peice of felt, don't worry if they are not perfect you will trim them later. Also, cut a piece of FOE/elastic about 4"- 4.5" long


Lay out your decorations on the crown, move them around until you are happy with the layout


Sew them down, I like to keep them on the one felt crown and move one piece at a time to the second crown so I do not forget my layout. Using embroidery thread, embellish as much as you wish


When you are done, place the decorated crown on top of the other blank one and line them up the best you can. Sew them together along the top and bottom edge. Use a very small seam allowance (between 1/8" and 1/4")


I like to use my zipper foot (because it is the slimmest foot, and it helps to go over any embellishments that I may have sewn to close to the edge) Sew SLOWLY!


When you are done, your felt will most likely stretch a bit or slip like mine


Just take a pair of very sharp scissors and trim the seam allowance  so the front and back are neat. Trim the sides as well

Take your piece of elastic and tuck it into one of the sides (about 1/2") pin it in.


Tuck the other end into the other side (making sure not to twist the elastic) and pin it.


Sew along the short ends to keep the elastic in place, and You are done!


A beautiful crown, for birthdays or whatever occassion


No matter what age...


Have fun making your own....and trying to keep your little one from pulling it off!


Related Posts Plugin for WordPress, Blogger...